Let's talk flooring! Man can it be expensive. When we bought our home we knew that we wanted to update the flooring asap. In reality, other projects took priority. Things like fixing floor joists and replacing the water heater, and stove, and fixing wiring, and re-plumbing the bathrooms and some of the kitchen, and.... the list goes on, all were more important than an aesthetic change like flooring. After all the expenses of fixing things strictly for function and safety, we needed a very reasonable budget friendly option for flooring.
I wanted something wood, fairly low maintenance and durable, and wide plank! Looking at my options with traditional flooring I could see that we were going to have to save for a long time to get something that fit the look I wanted. I set out to get creative and find a solution!
We did this project in stages. We started with our living room, and waited about 6 months before doing more rooms in our house. Partly because we wanted to see how durable the floor would be (Spoiler - we haven't had any issues with durability), and partly because we found out I was expecting during the installation of the first room. Turned out I was further along than we thought and life got a little crazy. We just finished the room adjacent to this (with little one due any minute) and have decided to wait to tackle the hall until after baby comes.
Materials
So materials. What did we use? Well, I had been on a Pinterest hunt and stumbled across people who used common pine boards for flooring. I loved this idea, but this posed a few issues for us. One, we don't have a lot of woodworking tools and didn't want to afford a table saw or chop saw at the time. Also, we needed the flooring to be fairly thin to not cause issues with door clearances and other considerations.
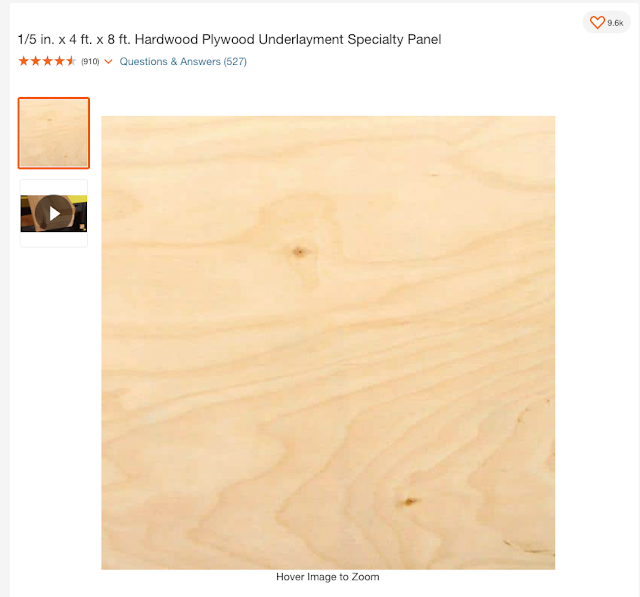
Next I looked at plywood options, and making our own planks. And finally we found this special plywood underlayment that had the color and look I wanted, was super cheap, was thin and pliable, and could easily be cut with our circular saw. Not only that, but you can also cut the boards to different lengths during the installation process with a box cutter! It seemed like the perfect solution for us.
Prices due to inflation and lumber shortages have unfortunately risen quite a bit since we started this project, but it is still a very affordable option!
When we purchased our wood, we purchased enough for our main rooms and hallway. At the time it cost $16 a board, but home depot had a bulk price for $11 a board which is what we paid. For our numbers, the cost of the wood for our space was about 34 cents per square foot. Today, the boards are listed at $23 each, with a bulk special price of $21. Even at double the cost, 68 cents a square foot is pretty great for flooring!
All the materials we used included: circular saw, kreg-jig sled, liquid nails, caulking, putty knife, water-based polyurethane, nail gun, brad nails, and paint roller with extension pole.
Some materials we already had, but for everything we spent money on, this flooring cost us less than 70 cents a square foot all said and done. Of course, as anything DIY this was more labor intensive and we didn't factor our time into that cost. But even if we had chosen conventional flooring, we would have been installing it ourselves, so that wasn't really a concern for us.
The Process
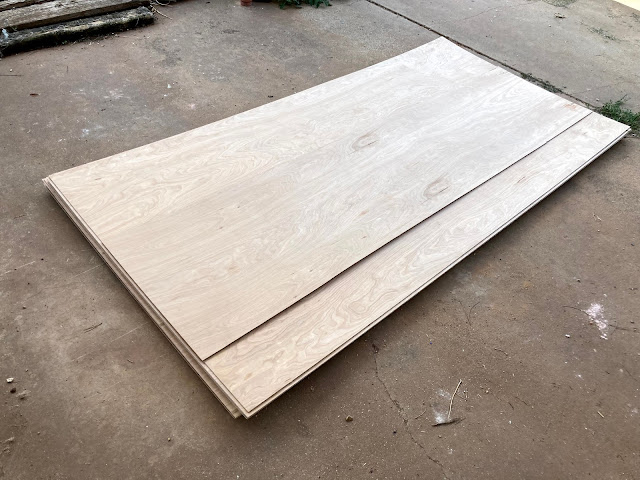
A quick word to the wise, the fine folks at your local Home Depot can cut the boards to planks for you and I highly recommend you take them up on that! The key is having time to wait patiently for them to get to it when they can. Unfortunately, we were pressed for time, so we decided that we would cut the boards ourselves. And by "we" I mean my accommodating husband.
We used a Kreg-Jig saw guide or sled to help our cuts be uniform. These aren't expensive, but we were honestly disappointed with the quality, and while it helped *for the most part*, the cuts were not as uniform or straight as they would have been with a table saw, or if Home Depot had cut the boards for us. The edge of the sled would sometimes catch or jump a bit, and so there are definitely imperfections with the cuts. But they are all roughly 12 inches wide.
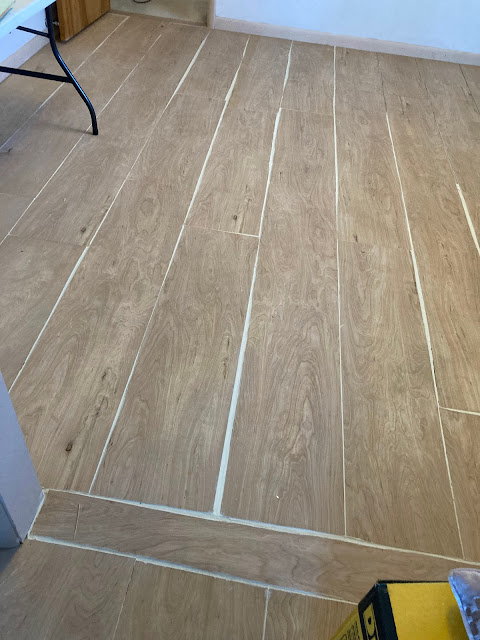
This initial bump in the road so to speak, lead me back to Pinterest where I found "live edge" flooring inspiration. Uneven boards were used, and I realized I could embrace the gaps that would be created and decided to fill them with almond colored caulking.
Pinterest Inspo:
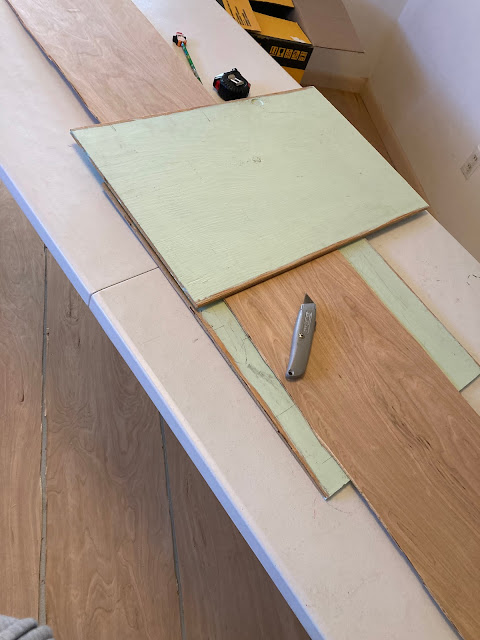
Next, after removing our carpet and padding, we laid the floors down and secured with liquid nails. We have a wood subfloor, so we just laid directly on top of that.
This process was fairly simple, but we did have bit of a learning curve figuring out the best way to stagger the boards. Planning a few rows at a time helped stop boards from lining up with each other.
To cut the boards to the various needed length, we simply measured and scored with a box cutter. After scoring 5-10 times, the boards are easy to "snap" and you get a clean cut (most of the time!). A sanding block can clean up any splinters, but this only happened a couple of times when I wasn't patient enough to score deep enough.
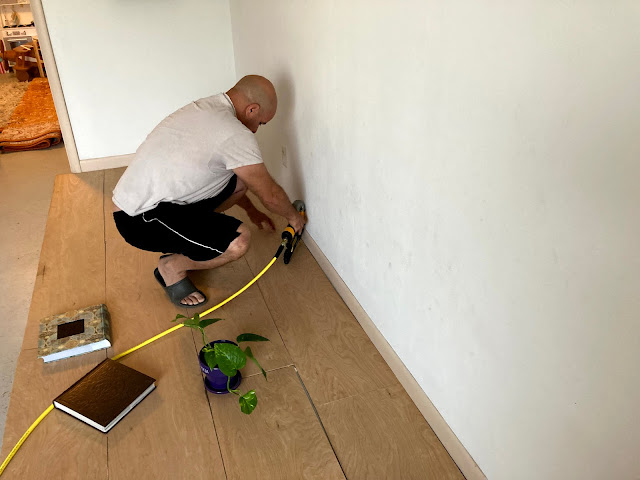
You can see I got creative with things to hold down the corners of boards while the glue dried! Ha!
We used a nail gun with brad nails to secure the boards into place. We probably went a little overboard with the number of nails in each board, but we wanted to be sure that they would lift along the edges.
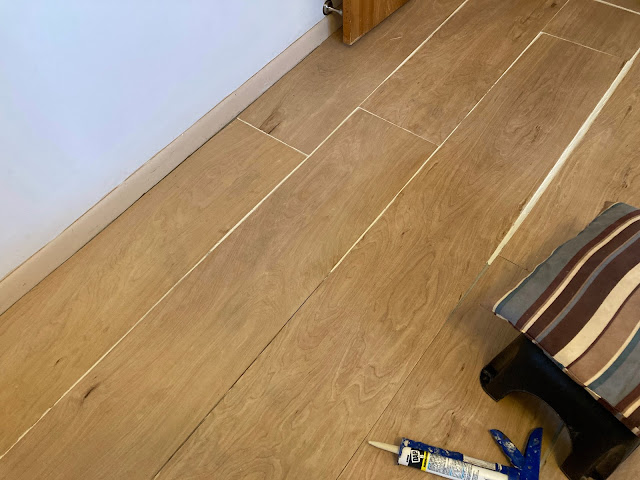
When the floors were all laid down and nailed in place, I did start to worry that the gaps were too big or that the caulking idea wouldn't work. You can see in some places the gaps are quite large.
But thankfully the caulking worked, and it looks so much better / more polished after!
The caulking process is a little tedious, but overall not too bad. The first room we did it was pretty easy. This second room was much harder for me because I was crawling around 9 months pregnant ha! Should I have waited until this weekend when my husband was willing and had time to do this for me? Probably. But I'm not known to be patient when it comes to projects like this! oops!
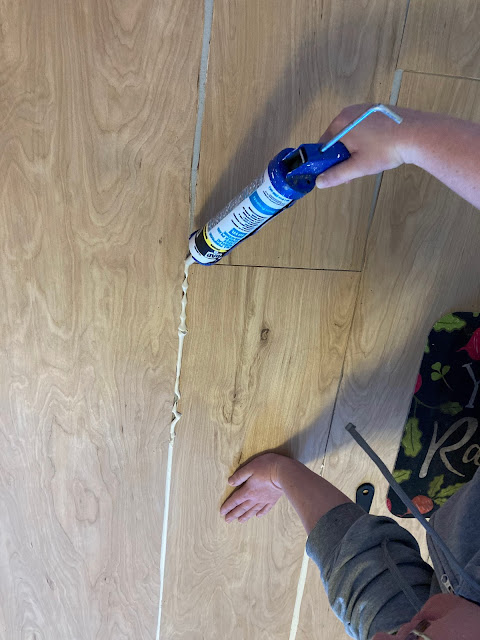
The caulking process:
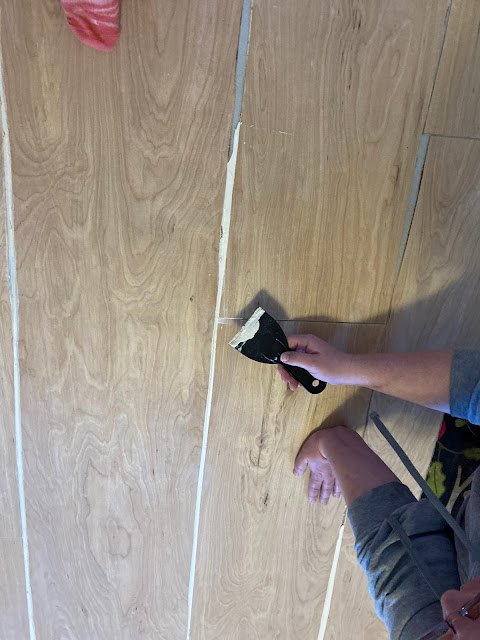
First, put some caulking in the gap.
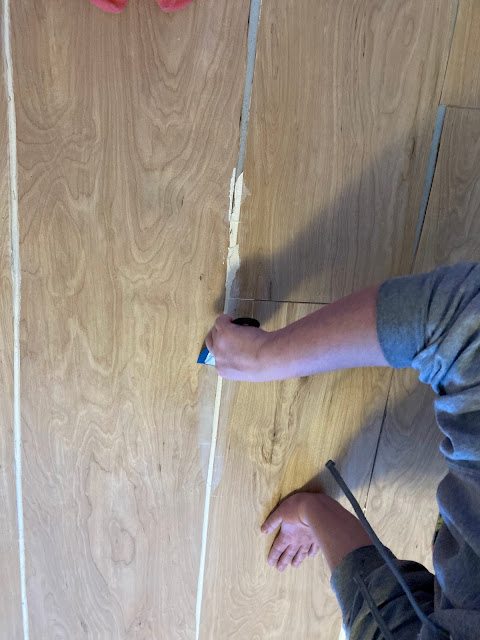
Use a putty knife to spread the caulking into the gap.
There will be excess putty and I would scrape that into the gap.
Then I used the putty knife to spread it evenly again.
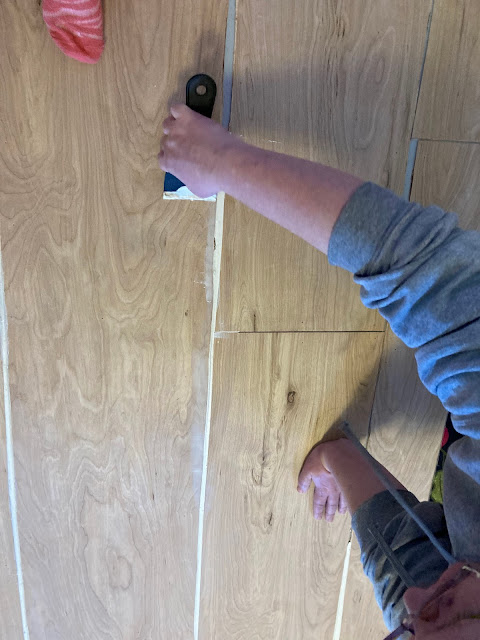
Next, I flipped the putty knife over and used it to scrape the excess caulk off each side of the gap
This will leave you with some excess caulk. If it was still wet, I'd put it into the gap but if it had started to dry I just wiped it off with a wet rag.
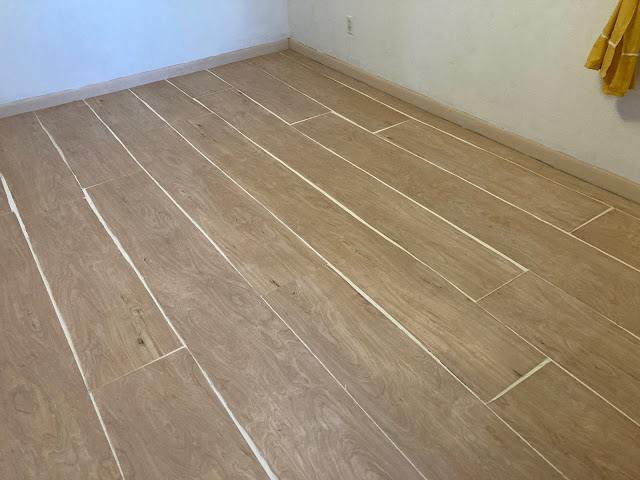
Here is a look at the floor once all the gaps are filled. You can see that there is a small gap around the edge of the room. That could be filled with caulk, but we have plans to change our trim so we are leaving that alone for now.
The final step is to coat the floor with some sort of seal. For ease of use we went with water-based polyurethane. This is not recommended for floors, but we haven't experienced any issues with durability. I sweep, vacuum, and mop these floors without any problems. We do expect to reapply the polyurethane whenever needed. There are more durable oil based sealants, but I was worried about yellowing over time, and also the mess of dealing with an oil based product.
The final top coat does darken the wood slightly, but it is still very light which is what I was hoping for.
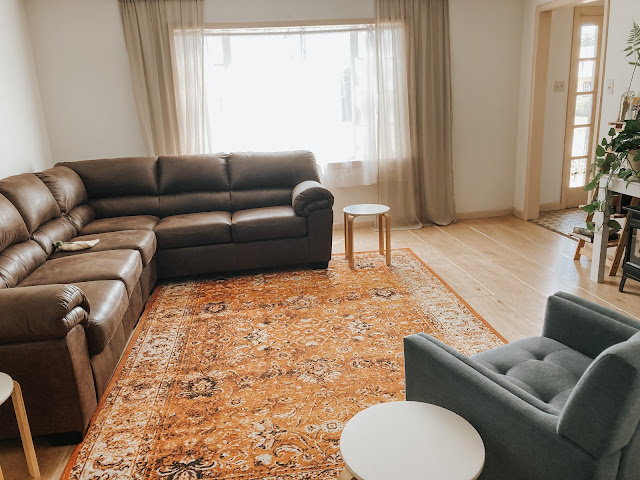
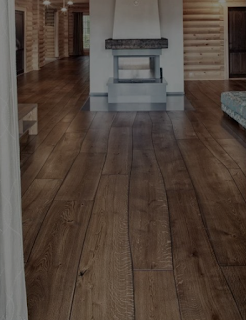
Here are some pictures of the living room when it was first finished:
A few months later:
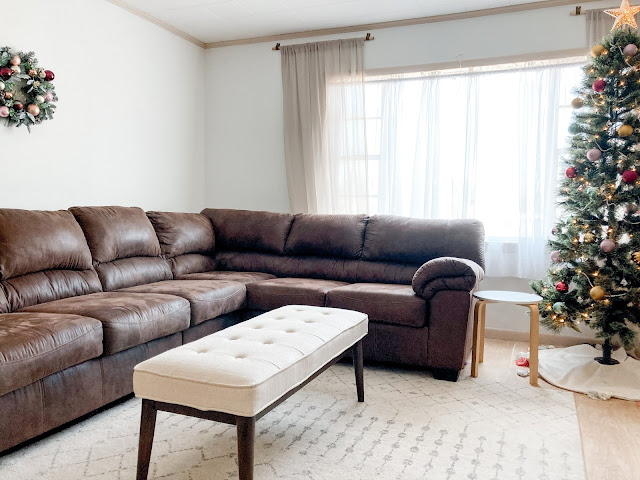
Our sectional *finally* came in almost a year after ordering it! The floors still in great shape.
A few more months later:
Months later we are still loving the floors. I love the light and bright feel they brought to our main living spaces. They are practical for us. Easy to clean, and durable for the kids. Over time I do expect to see wear and tear, but plan to embrace them as part of the rustic feel.
These floors are not conventional and we probably broke all sorts of flooring "rules" in doing it the way we did, but we love them.
After baby arrives, we will tackle the hallway and I am looking forward to having seamless flooring in these main areas!
Our next decision to make is what to do about our kitchen flooring. We have been remodeling our kitchen (removing a peninsula, adding an island, moving the fridge) and will be painting our cabinets before replacing the current linoleum that is in there. I think I want tile and will plan to do the same tile in the kitchen and our bathrooms. Then finally, a decision needs to be made about the bedrooms. Currently they have carpet that needs to be replaced. I'd prefer hard floors, but I'm outvoted by everyone else who wants cozy carpet (especially in our cold winters) in the rooms. So I will be on the hunt for a nice and affordable carpet option for the bedrooms.
Thanks for joining me on this little project!
Until next time,
Cris


Comments
Post a Comment